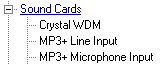
After installing, load a for this card from Setup->Load... under the Sound Cards section as shown in the figure below.
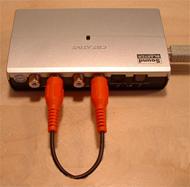
Important: If you are going to measure impulse or frequency response, you need to connect a loop-back from the right channel output to the right channel input as shown in the figure below.
The phone cable shown in the figure above can be purchased in most stores that sell electronic equipment.
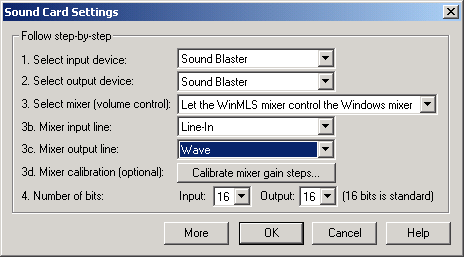
You may also set the sound card settings manually.
Go to Measurement->Sound Card.... If error messages are displayed, just click the OK button to exit these until the dialog shown below is displayed. Now select the settings shown in the figure below.
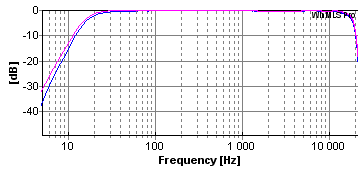
In step 3b in the figure above we have selected Line-In, if you want to use the microphone input on the sound card you should instead select Microphone. In the figure below you see the microphone input plotted in blue and the line input plotted in red.
Note: We did not get very good results when using generator as reference
and when Measurement->System Delay... is set to one of the two settings shown below.
Any other setting seemed to give good results.
Note: If you want to correct for the mic. input, first set the output mixer to a very low level (for example -44 dBFs) to avoid distortion.
Important: We only got good results with sampling frequency 48000 Hz. This is usually the default setting, but be sure go to Measurement-> Settings... to check that the sampling frequency is set to 48000 Hz.
 Contents
 Index
Index Search
 Previous
 Next
Next